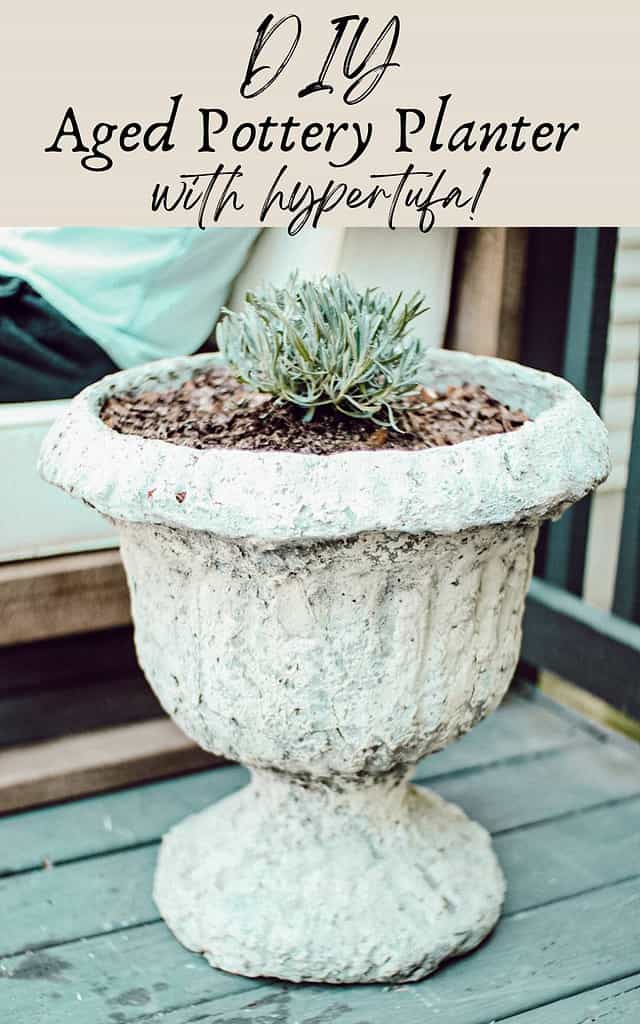
DIY Amber Interiors Vintage Water Pot Lookalike
I have a bit of a vintage pottery obsession. Every new pot I purchase, I have the immediate urge to cake it in mud and strategically scratch and crack it to make it look like an earthen vessel from ancient Rome. There are worse obsessions, right? I am so in love with all the vessels from Shoppe Amber Interiors! I recently spotted a gorgeous antique water pot on her site and have been dying to replicate this look for my new patio space. In this post, I’ll share the easy, 3 ingredient method to create this Amber Interiors water pot dupe.

The Water Pot of My Dreams…

Did you know you need a water pot in your life? I didn’t until I spotted this one from Shoppe Amber Interiors. I love the various finishes but the black distressed finish really spoke to me. A water pot like this would be perfect as a patio planter, on living room shelves, or as a vase/centerpiece… The options for this amber interiors water pot dupe are endless!

I knew that I had to attempt a DIY version of this water pot since unfortunately, I can’t spend $208.00 on a planter.
I’ve seen a ton of DIY pottery tutorials on blogs/IG lately and I feel like all of them require different materials, various paint colors, and a lot of time! This method is so easy, and fast! Not to mention it’s the cheapest tutorial I’ve done and you may already have all the materials laying around your garage!
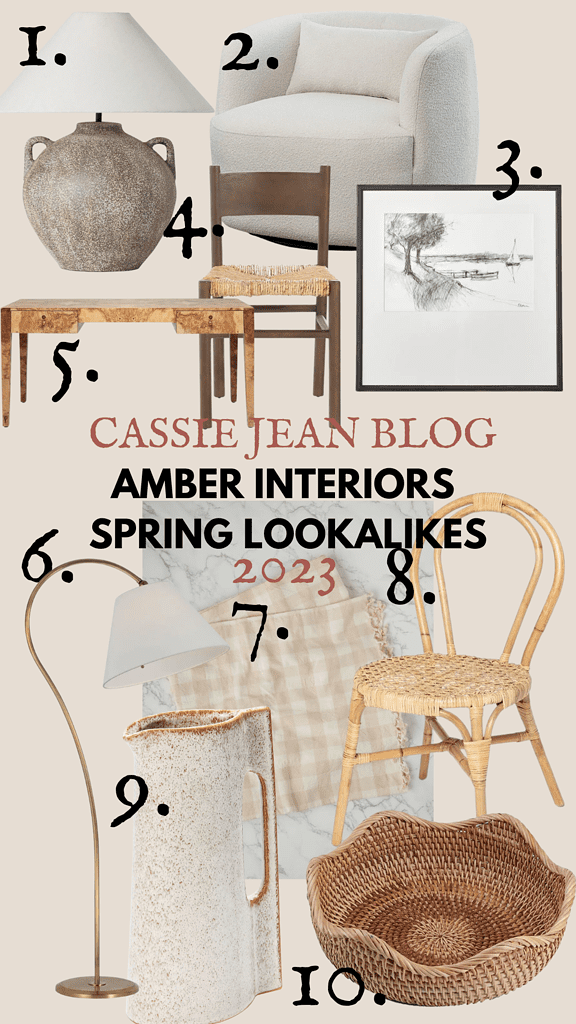
Shop My Other Amber Lewis Inspired Posts Below!
Oh, did you know I’m Shoppe Amber Interior obsessed? I always say that I have designer-grade taste on a builder-grade budget… Thankfully, I’ve found a compromise that I hope my readers will LOVE!
Last year I created THIS post… A collection of Shoppe Amber Interiors Lookalikes for much cheaper! If you have an affinity for vintage rugs, natural fibers, stone fixtures, and an overall natural aesthetic you will LOVE this post.

When Amber released her spring 2023 collection, I was lucky enough to spot several more lookalikes (with a huge difference in price!!) which I’m dying to share! Check out that post below!
Why I Love to DIY Planters and Pots:

Whether you are trying to give an old planter a new look, want to create a heavy-duty planter out of a cheap, lightweight plastic pot, or your top concern is the price of the item, DIY’ing a planter/pot is the best way to go. Planters can be outrageously expensive and the fact that I love vintage-inspired pieces makes that price tag creep up even more.
Earlier this year, I attempted a DIY hypertufa pot and learned a lot along the way. You can read all about that DIY HERE.
Hypertufa is a great way to create a legit, heavy duty planter- IF you have time to work with the process. If you are wanting something fast, easy and fool-proof, this tutorial will be your best friend.
Materials for DIY Distressed Stone Water Pot
I did this process on a stone pot AND a plastic pot just so I could compare. I think it worked very well for both but I’ll provide tips for how to do either option.

– Stone or plastic pot. For my ceramic pot, I had an old pot in my garage that I decided to use. For my plastic pot, I purchased THIS plastic pot from the At Home store and I loved the antique European vibe it gives off. If I were starting this tutorial from scratch, I’d 100% go with THIS pot. It’s $25 at Home Depot and looks almost identical to the Amber Interiors water pot! Seriously, it’s SO good!
– Black Matte Spray Paint
– Clear Matte Spray Paint
– Dirt
– Sandpaper

Amber Interiors Water Pot Dupe: Step By Step
I love the idea of repurposing an unattractive planter or pot to give it a new life! And the bonus is these earthen vessel pots are just amazing and look fabulous either indoors or out! Thankfully this version is fully waterproof and I have tested it in some major NC rainstorms!

Step 1: Distress Your Pot
This is the first and possibly most important step of the process: Roughing up the exterior of your pot. I did this with medium grit sandpaper plus a few sharp rocks. The roughing process serves several purposes. First, it helps the paint and dirt adhere better to the sides of the pot. Secondly, it adds that character and texture that is crucial in a vintage pottery piece.

I didn’t over-do this step, just went over the entire pot once, taking care to rough up the inner and outer ridges. I also took a rock and tried to gouge a few scratches here and there to add a little more character.
The plastic planter roughened up very quickly and similarly. You can also use an electric mouse sander to do this step even quicker. My planters were massive so this really sped up the process. Be careful to protect your eyes from the dust!
Step 2: Spray Paint Pot with Black Spray Paint
After placing a ground protective covering down, give your pot a good spray of MATTE black spray paint. It’s very important that the paint is matte to get a good earther vessel look.

I only did one coat of spray paint, but it will likely depend on what color your pot was before. My pot was already a dark brown shade so the black gave it really good coverage after 1 coat. I also sprayed the inner upper lip since that part is visible even with something inside the planter. Let the coat dry for at least several hours.
Step 3: Rub Dirt on the Exterior Pot

Here is the essential step! Grab a big handful of dirt and start rubbing the dirt evenly all over the exterior of the pot. It works best to use dry dirt that is light in color which is what I happen to have in my yard so it was perfect.

Our soil is very pale, sandy and dry. This type of dirt easily gets stuck in any crevices and scratches which really adds to the rustic look. Even after 1 coat of dirt, it looked awesome!
Step 4: Coat with clear matte spray paint

After massaging the dirt into the entire surface of the pot, give it a heavy spray of a matte clear spray paint and let it dry. This stuff dries super fast so I was able to start coat #2 within half an hour or so.
After the coat is dry, massage another handful of dirt into the pot and spray with clear coat again. Repeat this process as many times as your want to create the look you are going for. I probably did 8-10 coats of this. That sounds like a lot but it truly didn’t take long.
Enjoy Your Vintage Water Pot!

That’s it! Creating this amber interiors water pot dupe was the easiest DIY I’ve done in a while. I’ve had this planter outside in the rain and storms and it has held up great so far.

Check Out My Outdoor Projects Below!
This summer has been all about creating an outdoor space we can truly LIVE in. I love being outside so much and up until the last few months our yard was pretty destitute. I’m so proud of how far we’ve come and I’d love you to follow our backyard transformation with me!

What are your favorite plants to keep in your patio space? Let me know below!